


HOW TO: 5 STEPS TO YOUR UNIQUE CHRISTMAS TREE

Vancouver, B.C., December 1, 2017
It's time to start thinking about the Christmas tree and decorations. In the old times, it was tradition to put the tree up on the afternoon of Christmas Eve. But now, most people want to have the tree up longer and who can blame them, as it is the most important part in the festive season (next to presents of course)? These five steps will make your tree the focal point of all your holiday décor.
1.The lights
After you have picked your healthy, green tree with shiny needles, you want to light it up! You might use lights which are made to look like candles rather than real candles as you don't want your Christmas tree to lead to a 911 call. First, run a green or brown extension cable (choose the strand colour that matches your tree the best). Start at the base of the trunk and work your way up, wrapping lights around every major branch, moving from the trunk to the tip and back. That way, your Christmas tree will illuminate from the inside out and will give it a dynamic look.
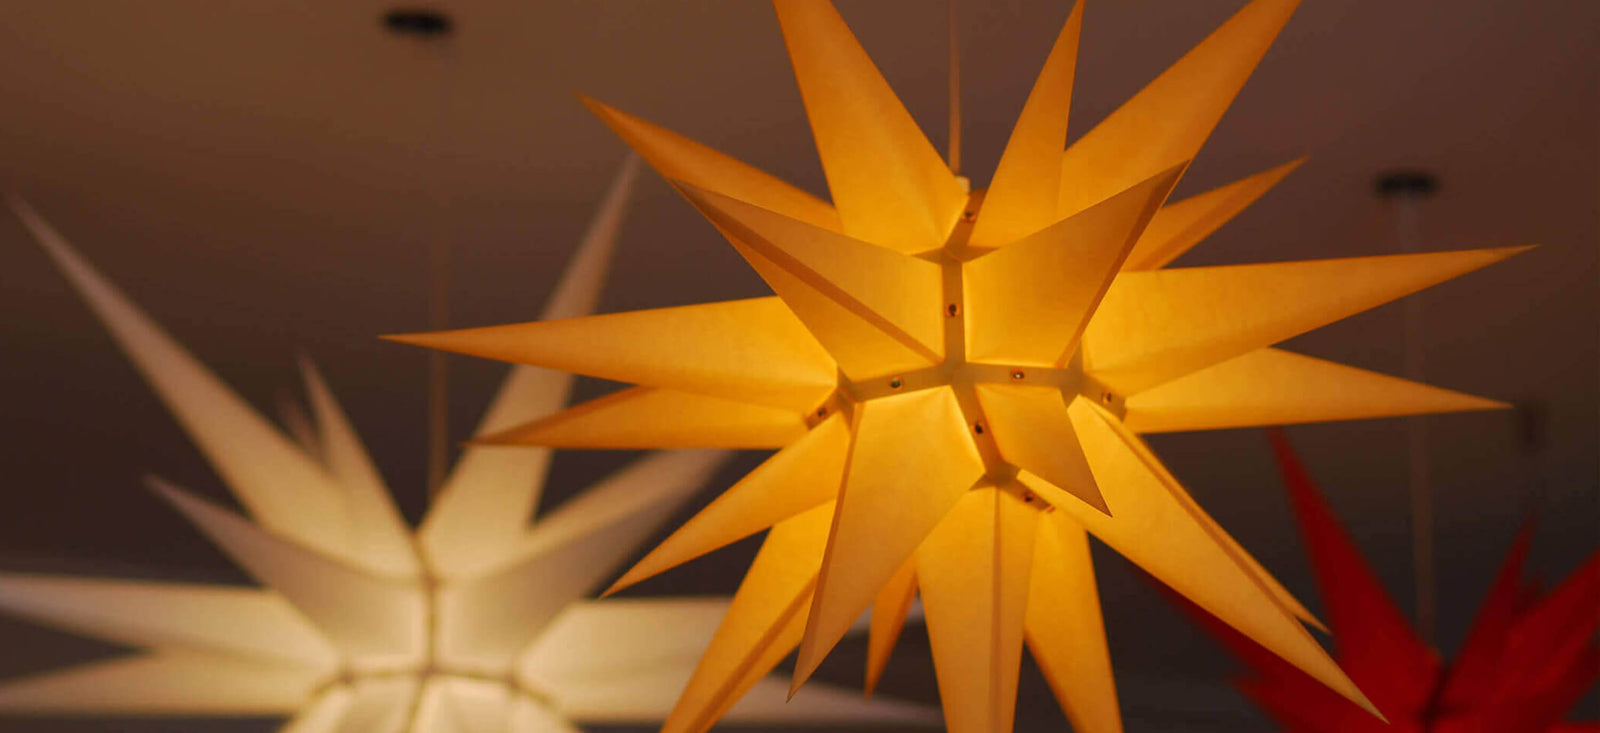
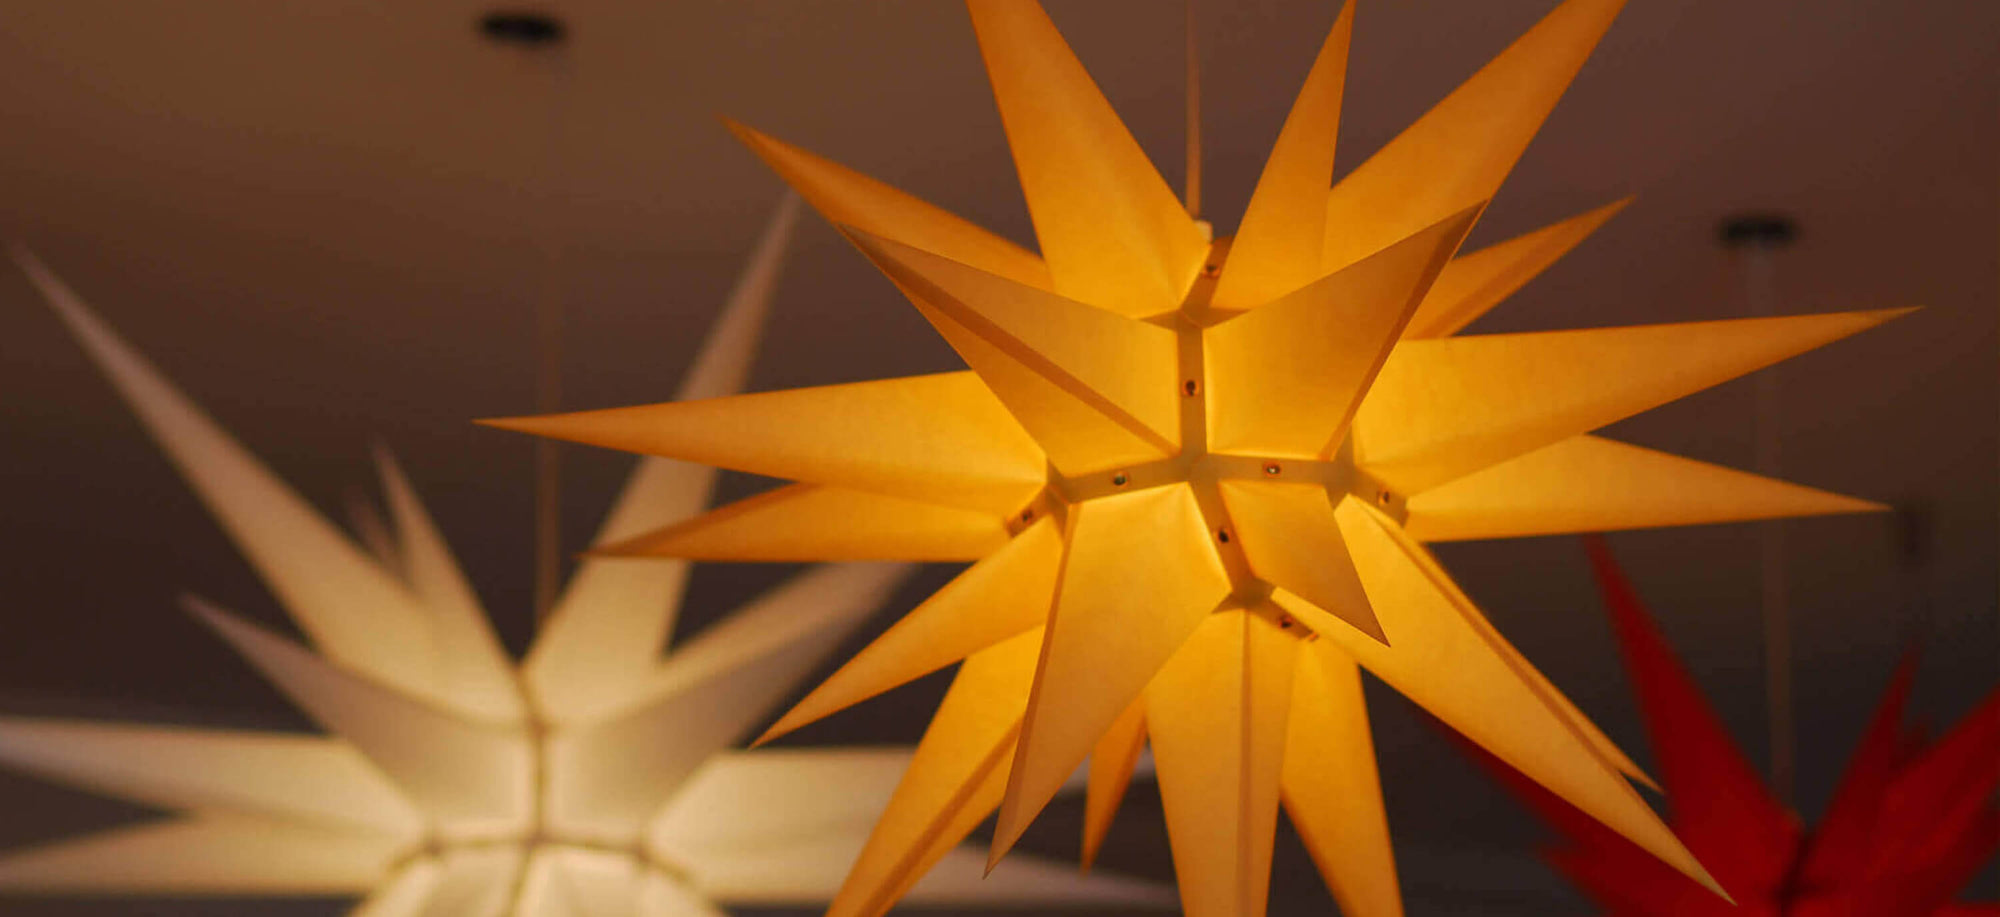
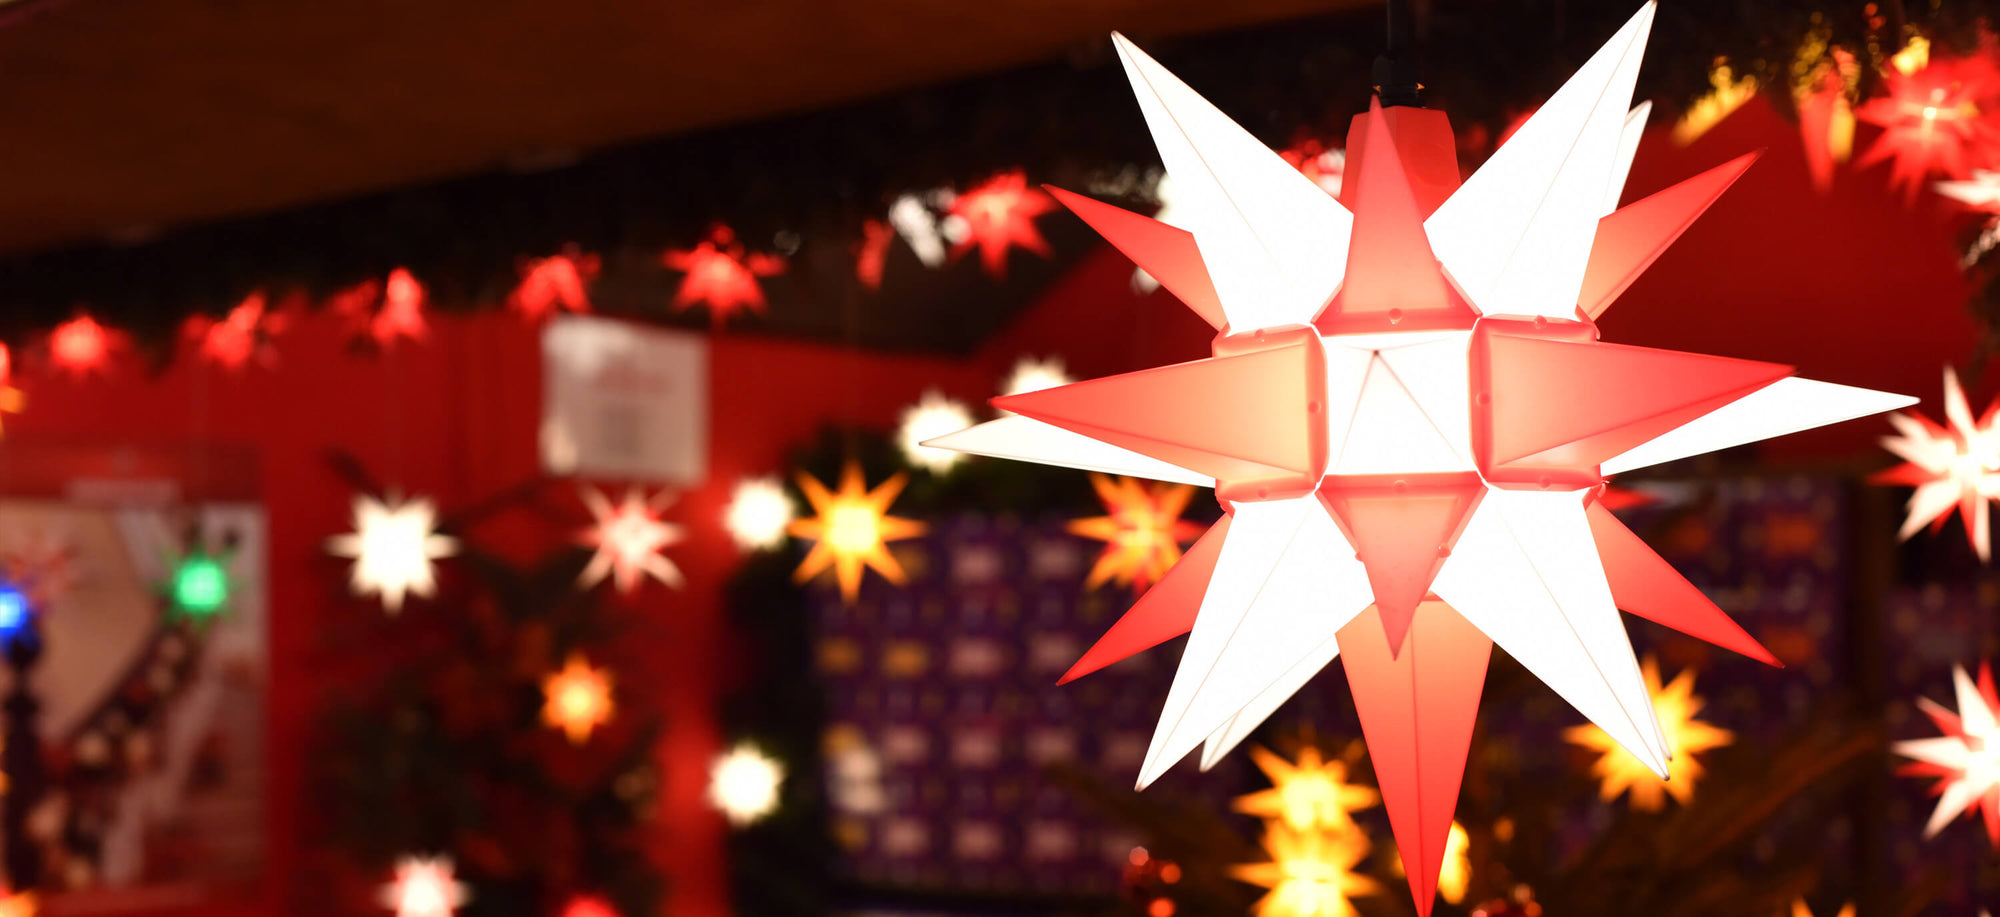
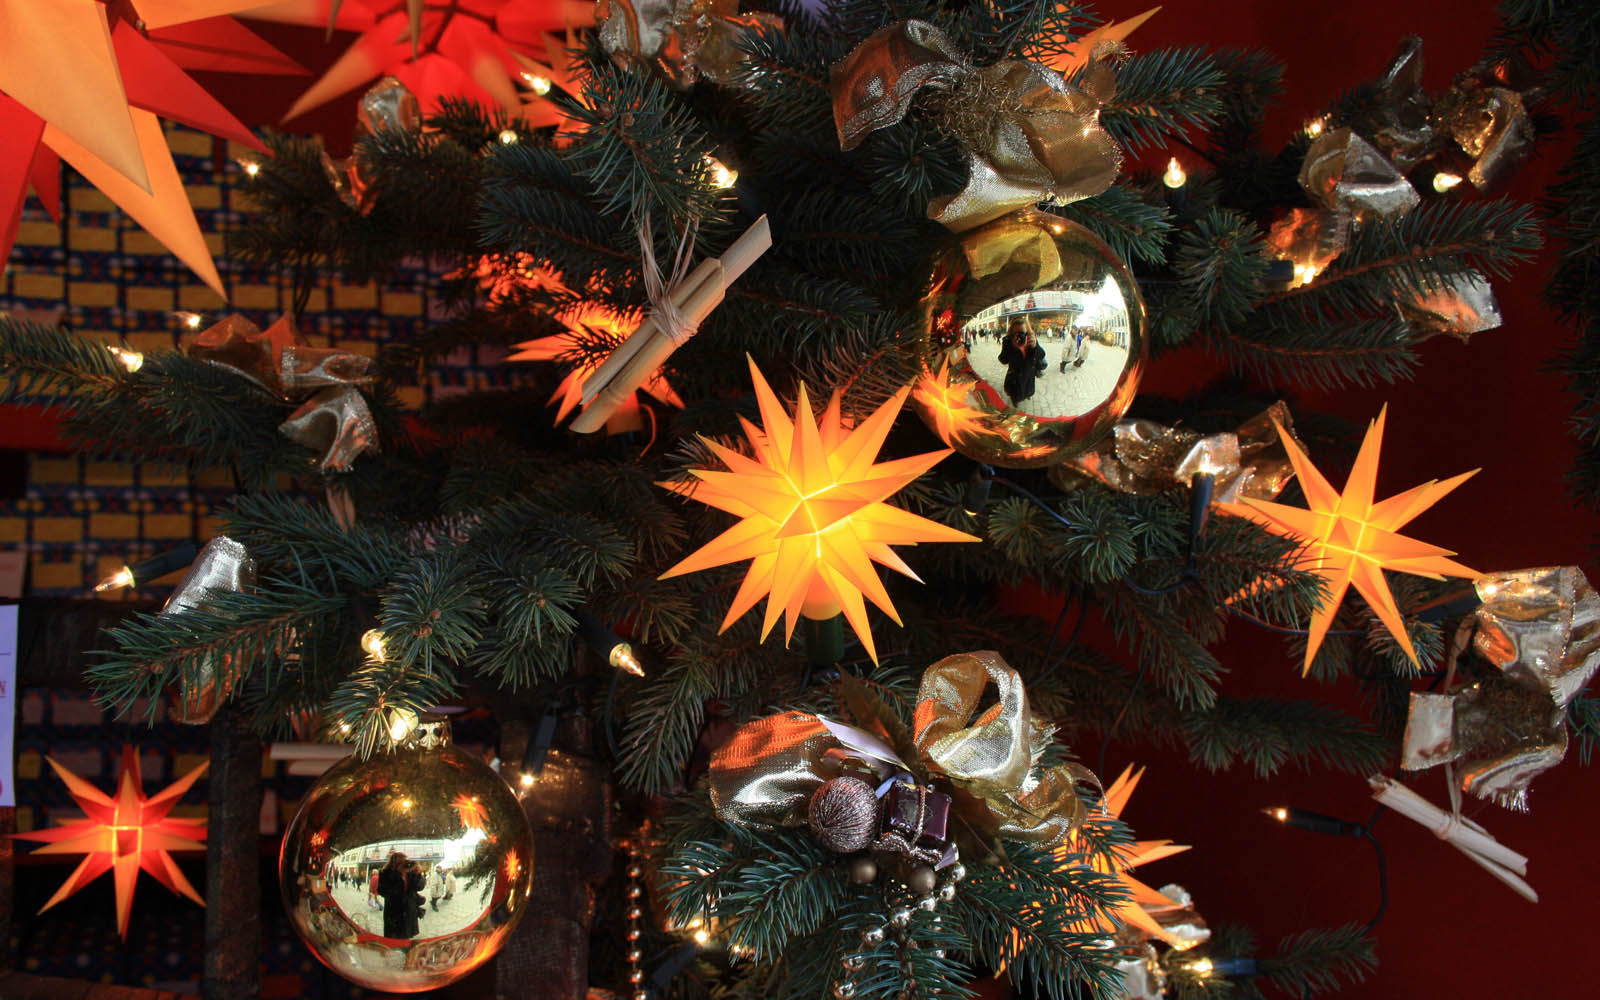
2. The Garland  In order not to have to work around the ornaments later, now would be the perfect time to add your special garlands, like our Herrnhut star garland. When it comes to draping the garland, there is no firm rule, but to avoid any bulging, start at the top of the tree, and slowly work your waves of star garland down while slowly increasing its amount. Image by troveinteriors.
3. The Ribbon
Next, accompany your garland with a plain but fancy ribbon, as you want to avoid a busy-looking Christmas tree. Wrap it loosely around your entire tree while using a zig-zag pattern into the center and the outside on the end of the branches, so it is balanced out and adds depth to the look. Be sure to mix it up top and bottom if you're using more than one style of ribbon.
4. The Ornaments
Now, it's on to the ornaments. No matter whether small, large, homemade, sparkling or colourful, they add that personal touch to your tree. Besides, they don't even have to be expensive. You just want to be sure to place your favourite ornaments in the prime positions on the tree first so they get the spotlight they deserve. Then, add your larger ornaments to the picture and fill in the spaces between them with medium- and small-size ornaments. As with the garland before, be aware of creating depth by hanging some of your ornaments closer to the trunk. Because there is nothing worse than a boring tree without depth.
5. Tree topper
Now, onto the cherry on top of your Christmas tree —the tree topper. Crown your tree with the topper you desire. Maybe a star representing the Star of Bethlehem, a personalised topper, snowflakes, birds or a DIY tree topper. The only thing you want to be aware of is its weight; your tree has to survive a couple of weeks so make sure it isn't in danger of losing balance and falling down.
After finishing all the steps, leave the room for a minute and come back to view the tree with a fresh perspective. Make any necessary adjustments, and then enjoy your own unique Christmas tree.
The Christmas tree, your family's lifetime holiday memory!
www.mybrilliantstar.com